
Kitchen remodeling guidance
Can a Kitchen Backsplash Be Replaced Without Damaging Cabinets Near Shoup Ave in Canoga Park?
Learn how controlled backsplash removal can protect cabinets and countertops while allowing for realistic wall-repair planning.
Quick Answer
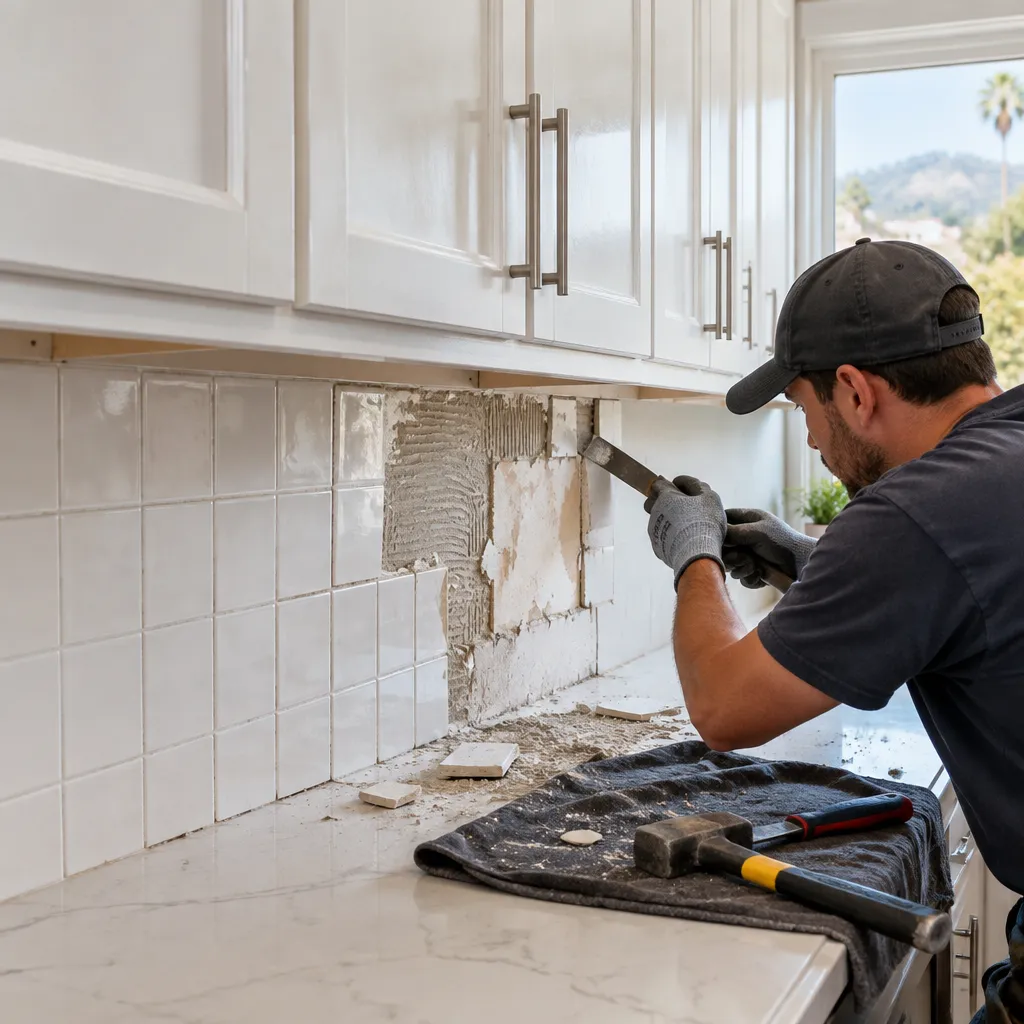
A backsplash is normally installed after cabinets and countertops, so cabinet removal is not usually part of a backsplash replacement. Careful demolition can protect cabinet doors, face frames, finished end panels and countertop surfaces. However, tile bonded directly to drywall can pull away the drywall paper or gypsum, so the wall behind the old tile may still need repair.
01 / Understanding the work
What actually determines the damage risk?
Yes, a kitchen backsplash can often be replaced without removing or damaging the cabinets. The important qualification is that careful tile removal protects the cabinet faces and edges, but it may still reveal drywall damage behind the old tile. The risk depends on the tile, adhesive, grout joints, existing wall condition and how tightly the backsplash terminates against the cabinetry and countertop.
Cabinets are only one part of the removal equation. The tile assembly, wall substrate and finished edges determine where the risk is concentrated.
Tile and adhesive type
Small ceramic or porcelain tiles set with thinset mortar may require more force to release than a lightly adhered decorative tile. Mastic, a premixed adhesive sometimes used in dry interior applications, can behave differently from mortar. Neither material guarantees an easy removal. A test area in a less visible location gives a more useful indication than assumptions based on tile appearance alone.
The condition of the wall behind the tile
Drywall is often the vulnerable surface. Tile removal can tear the paper facing, remove patches from an earlier repair or expose soft areas that need correction before new tile is installed. A sound wall can still need skim coating, sanding or a localized drywall patch to create a flat setting surface.
Cabinet-edge details
Cabinet damage is more likely where tile is tight to finished end panels, decorative trim, under-cabinet molding or painted face frames. These details should be masked and shielded, not treated as a surface to pry against. Doors and drawers may also be removed or protected when they limit access to the work area.
02 / Protecting surrounding finishes
Cabinet protection is different from wall protection
Replacing a backsplash without cabinet damage does not mean every nearby surface will remain untouched. A responsible plan identifies the finish that needs protection and the surface that may reasonably need repair.
Imagine a backsplash installed between a stone countertop and painted upper cabinets, with several outlets across the wall. The cabinet boxes may be structurally unaffected, yet the work still calls for countertop protection, careful removal of outlet covers and wall repair around cutouts. The practical takeaway is to evaluate the entire backsplash field, not just whether the cabinets can stay in place.
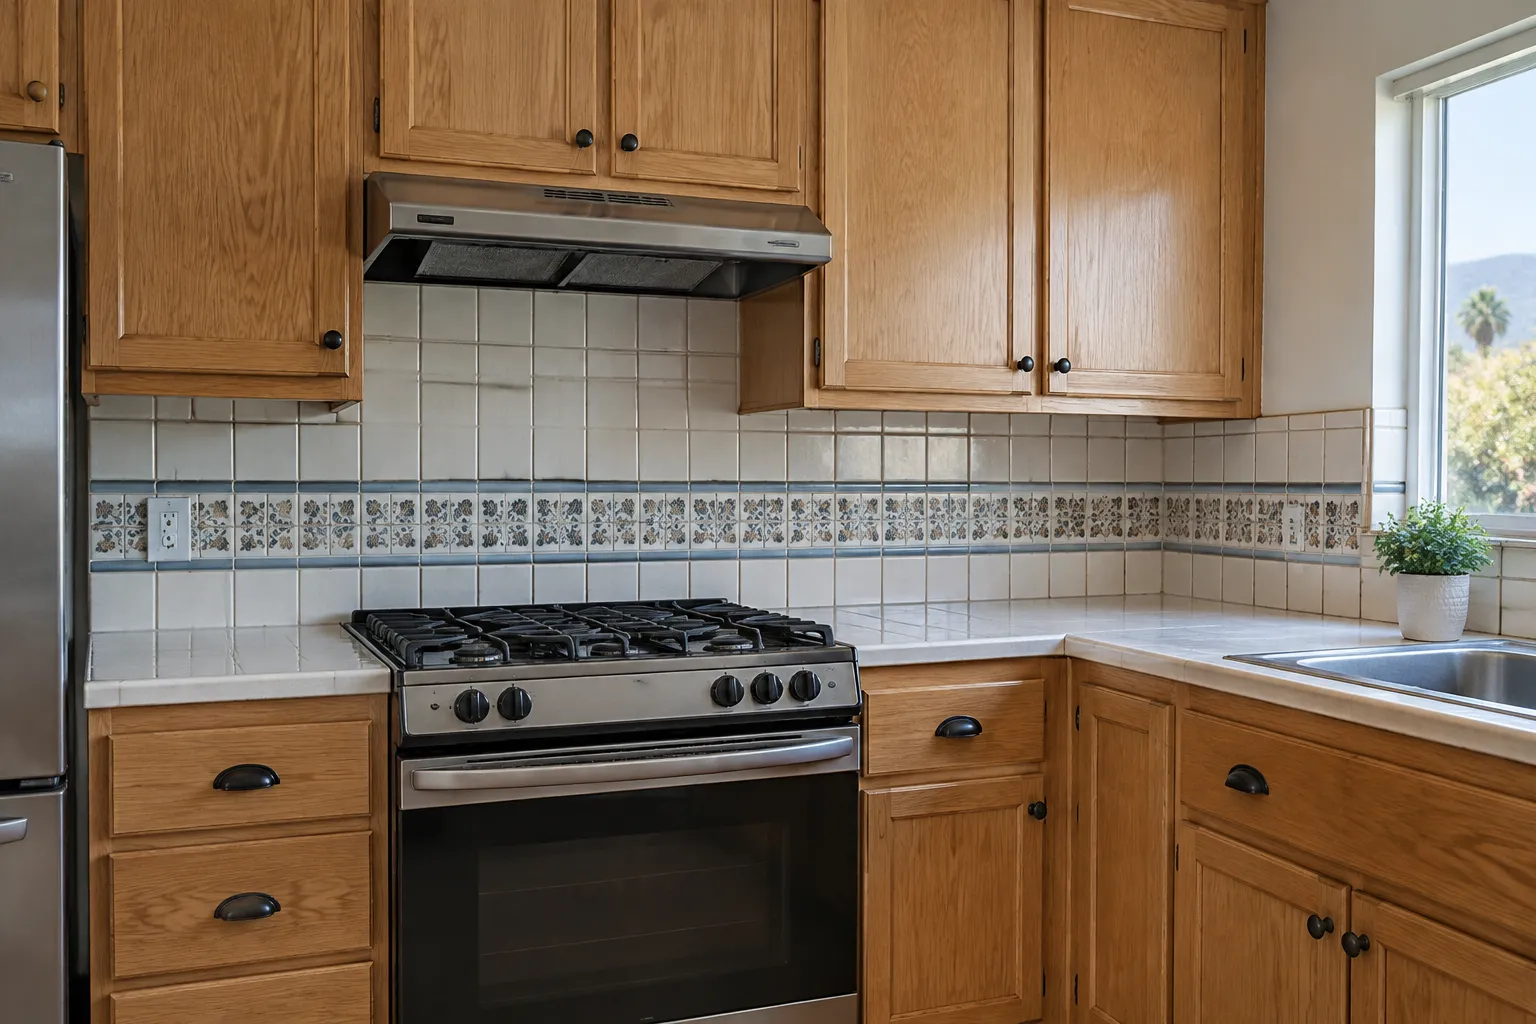
Cabinet faces and finished panels
Protect finished wood, paint and laminate from tool contact, adhesive residue and abrasive dust. The installer should avoid using cabinet edges as leverage points.
Countertops and seams
Cover the countertop before demolition begins, especially at the backsplash-to-countertop joint. Stone, engineered stone and tile tops can chip if falling debris is not controlled.
Drywall and substrate
Expect a wall-preparation phase after tile removal. Minor paper tears can often be repaired, while extensive substrate damage may require a larger patch or replacement section.
03 / A controlled sequence
How careful backsplash removal is planned
The sequence matters more than speed. Before removal, a contractor should identify where tile begins and ends, inspect cabinet-panel transitions, locate outlet and switch covers, and note countertop seams or vulnerable edges.
- 1
Clear and protect the work zone
Countertop items are removed, nearby appliances are protected as needed, and cabinet faces and counters are covered with suitable barriers.
- 2
Create a controlled starting point
Removal generally begins at an accessible edge or a selected tile, rather than driving tools into the cabinet or countertop joint.
- 3
Remove tile in manageable sections
Small, controlled pieces reduce the chance that falling tile damages the countertop or that prying force transfers to a cabinet edge.
- 4
Assess and repair the substrate
Once the old tile and adhesive are removed, the wall is checked for flatness, damage and moisture-related concerns before new tile is installed.
Dust containment and cleanup also deserve planning. Tile, grout and drywall debris should be controlled rather than allowed to spread through adjoining rooms. OSHA explains that silica-containing construction materials can create respirable dust when cut, ground or disturbed, which is one reason dust-control methods and appropriate cleanup matter during demolition.
04 / Conditions that change the scope
When backsplash removal deserves extra caution
Some conditions do not rule out replacement, but they can change the scope, labor and likelihood of wall repair.
- Tile extends behind a range, hood, refrigerator or open shelving. Access may be limited, and the finish transition needs closer review.
- The backsplash meets custom trim or finished cabinet side panels. Decorative details can be harder to replace if chipped.
- There are loose tiles, stains or soft wall areas. These are observations, not proof of a moisture source. The area should be evaluated before new tile conceals it.
- Electrical work is planned. Moving outlets, adding under-cabinet lighting or changing wiring turns a surface update into a broader scope. Review kitchen remodeling permit questions when the project expands beyond the backsplash.
- The countertop is being replaced later. Sequencing matters because the new backsplash should meet the final countertop installation and joint detail.
05 / Comparing approaches
Is tiling over the existing backsplash an alternative?
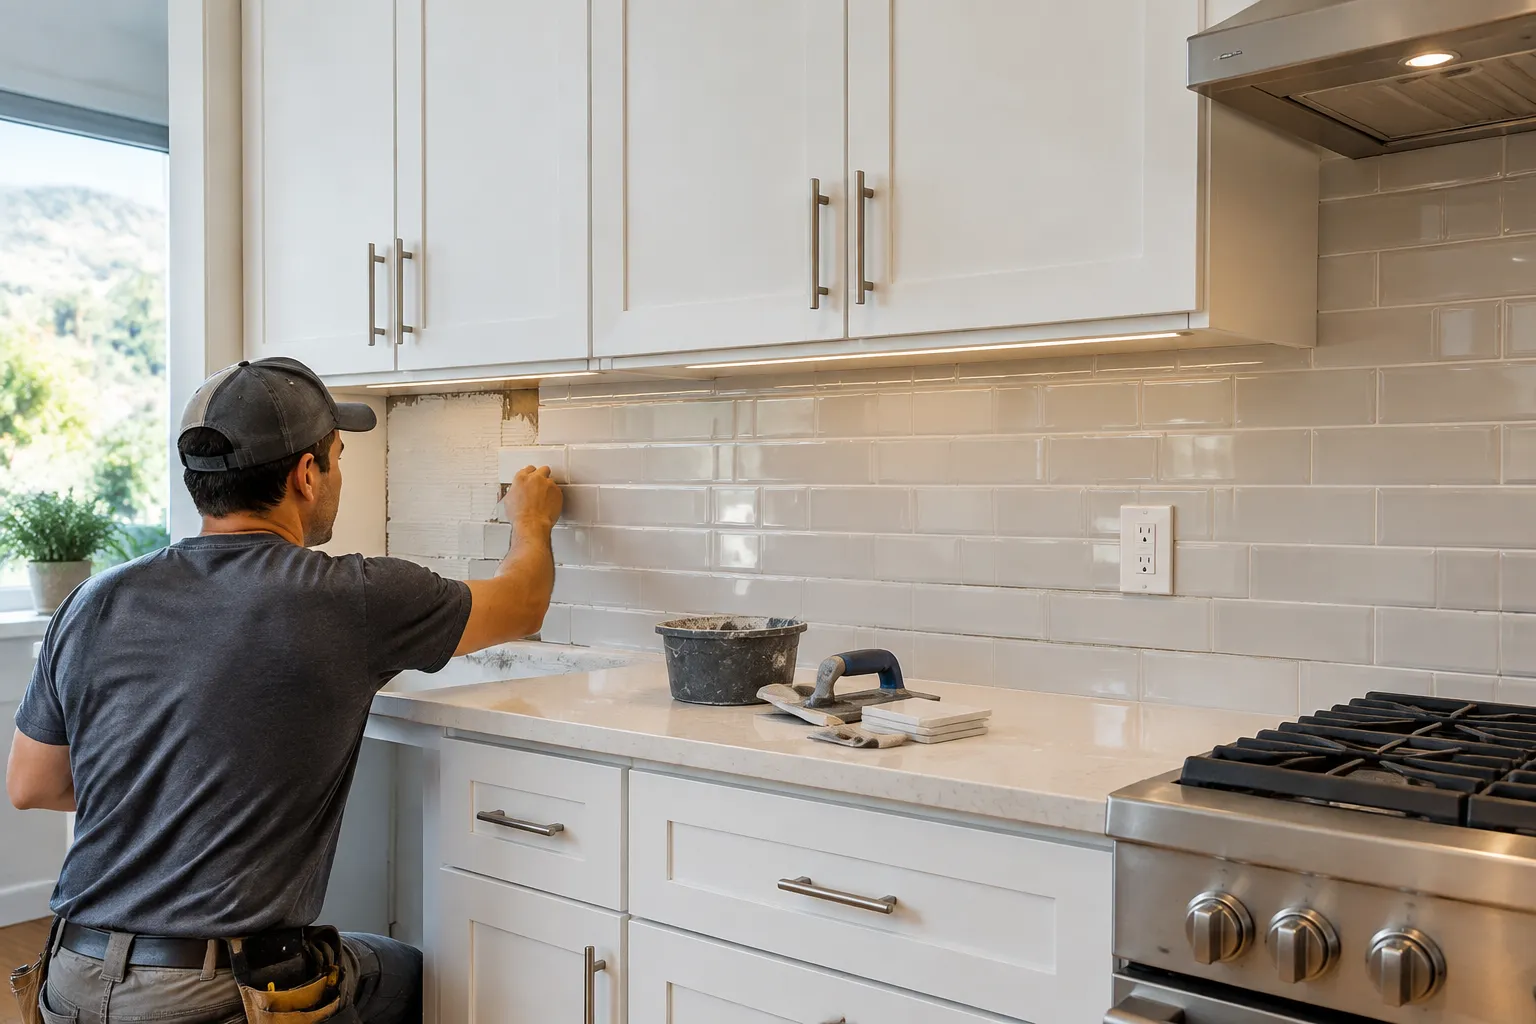
Sometimes, but it is not automatically the safer or better answer. Installing new tile over old tile can avoid demolition dust and some wall damage, but it adds thickness. That added thickness can affect outlet and switch cover fit, cabinet-side clearances, range trim and the finished connection at the countertop.
Tile-over installation also depends on the existing backsplash being sound, clean, firmly bonded and suitable for the selected setting materials. Cracked, loose or uneven tile is not a reliable base for a new finish. A small repair may be more sensible than full replacement if the issue is limited to a few damaged tiles and matching material is available.
06 / Preparing for a consultation
What to measure and photograph before asking for an assessment
Clear documentation helps identify risks before anyone begins demolition. Take wide photos of each backsplash wall and close-ups of the areas where tile meets cabinets, counters, appliances and outlet covers.
Record:
- The length and height of each tiled section
- The location of outlets, switches, under-cabinet lights and appliance connections
- Whether tile meets a finished cabinet end panel, molding or open shelf
- Any cracked tile, missing grout, staining, soft drywall or previous patching
- The countertop material and any visible seams
- The proposed replacement tile size and approximate thickness, if selected
Also keep a sample of the new tile, trim and grout color available. Replacement materials influence layout, edge treatment and the amount of wall preparation needed. If the backsplash is one element of a more extensive project, reviewing kitchen remodeling cost factors can help distinguish a focused finish update from a broader renovation scope.
The practical takeaway
Cabinets can usually stay in place during backsplash replacement, provided the removal is planned around their finished surfaces rather than against them. The key uncertainty is typically the wall behind the old tile, not the cabinet boxes themselves. Photos, measurements and a close look at tile edges can help determine whether the project is a straightforward replacement, a wall-repair project or part of a larger kitchen update.
Planning a backsplash update near Shoup Ave?
Gather the photos and measurements above, then discuss the cabinet edges, countertop protection and wall-preparation scope before removal begins.
Frequently Asked Questions
Can a backsplash be replaced without removing cabinets?
Yes, in most kitchens the backsplash can be removed and replaced while cabinets remain installed. Backsplashes are generally accessible in the space between the countertop and upper cabinets. The main concern is protecting finished cabinet faces, trim and side panels during demolition. Tight tile terminations or decorative cabinet details may require more careful hand work and localized protection.
Will removing a backsplash damage drywall?
It can. Tile removal may tear drywall paper, pull off old patches or expose uneven areas behind the tile. That does not necessarily mean the kitchen has a major wall problem. Minor damage can often be repaired as part of wall preparation, but the final extent cannot be known until tile removal begins. New tile should not be installed over a weak or uneven substrate.
How can countertops be protected during backsplash demolition?
Countertops should be cleared and covered before demolition, with particular attention to the joint where the backsplash meets the counter. Controlled removal in small pieces reduces falling-debris risk. The protection method should suit the countertop material and avoid leaving abrasive debris or adhesive residue on the finished surface.
Is it harder to remove backsplash tile near cabinets?
Yes, the edges nearest cabinets often need the most patience. Prying directly against a face frame, painted panel or trim can chip the finish. A careful approach creates separation at the tile edge and uses tools against the wall surface where appropriate, rather than treating the cabinet as a demolition support.
Can new tile be installed over an old backsplash?
Sometimes. The existing tile must be securely bonded, clean and sufficiently flat, and the added thickness must not interfere with outlet covers, cabinet clearances or countertop transitions. Tiling over old material can reduce demolition work, but it can create layout and finishing limitations. Loose, cracked or uneven tile should be addressed first.
Do outlet covers need to be removed for a backsplash replacement?
Yes, outlet and switch covers generally need to come off so tile can be cut and finished correctly around the electrical boxes. Any plan to move outlets, alter wiring or add lighting is a separate scope consideration. Electrical changes should be evaluated under the applicable local requirements rather than assumed to be part of a simple tile replacement.
How long does a backsplash replacement take?
The timing depends on tile removal difficulty, wall repair, layout complexity, tile cuts, grout and cure requirements. A small, accessible backsplash may involve less work than a full-height installation with many outlets, trim pieces or substrate repairs. An on-site review is the appropriate way to establish a project-specific sequence rather than relying on a generic timeline.
Is backsplash replacement a good time to inspect for moisture damage?
Yes. Once old tile is removed, previously concealed staining, soft drywall or deteriorated materials may become visible. Those conditions do not identify the cause by themselves. A professional may need to determine whether the issue is historical, related to a plumbing fixture, or caused by another condition before the wall is closed again.
Resources
- EPA Renovation, Repair and Painting Program
- OSHA information on respirable crystalline silica